What Is Focus Stacking in Food Photography? Front-to-Back Sharpness Explained
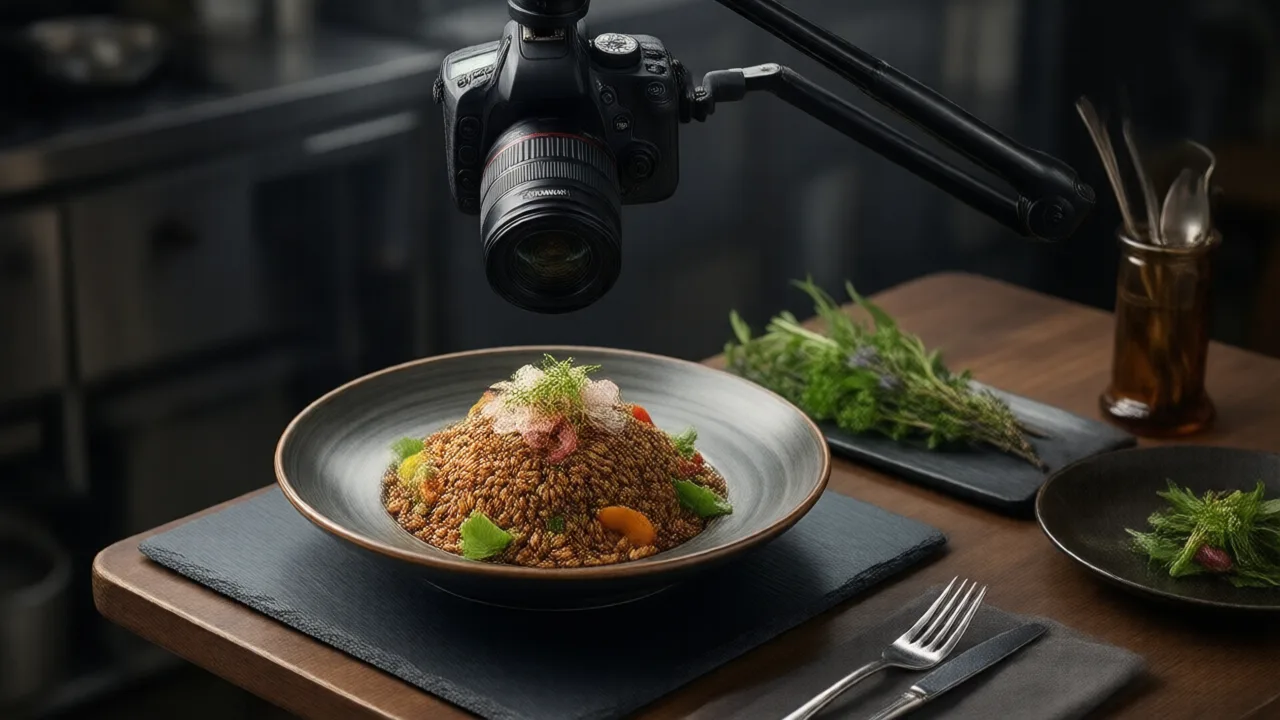
You style the plate perfectly. You get in close, low, dramatic. You fire the shot, zoom in on the screen to admire it -- and the front of the burger is razor sharp while the back bun dissolves into a soft blur. Or the overhead poke bowl looks crisp in the center and mushy at the edges. The composition is right, the light is right, and the photo still looks slightly wrong in a way you cannot quite name.
That "slightly wrong" feeling is almost always a depth-of-field problem, and it is one of the last technical hurdles between a good food photo and one that looks genuinely professional. The most reliable fix is a technique borrowed from macro and product photography: focus stacking. Here is exactly what it is, when a restaurant actually needs it, and how to do it without turning a menu shoot into an all-day project.
The Problem Focus Stacking Solves
Every lens, at every aperture, has a zone of acceptable sharpness called depth of field. Everything inside that zone looks crisp; everything outside it goes soft. The catch is that the closer you get to your subject, the thinner that zone becomes. In food photography, where you are often shooting from a foot or two away, the sharp zone can shrink to less than an inch.
An inch is nothing. A cheeseburger is four inches tall. A bowl of ramen is six inches deep from the near rim to the far one. Shoot either up close at a wide aperture and physics guarantees that part of the dish will be out of focus. You can stop the aperture down -- go from f/2.8 to f/11 -- to widen the sharp zone, and for many shots that is enough. But two things push back:
- Diffraction. Past a certain point -- often around f/11 to f/16 on a full-frame camera -- closing the aperture further starts to soften the entire image. You gain depth but lose overall crispness, so you cannot just keep stopping down forever.
- Light and motion. A smaller aperture lets in less light, forcing a slower shutter or more powerful lighting. On melting ice cream, rising steam, or a cheese pull, slow is not an option.
Focus stacking sidesteps the whole trade-off. Instead of asking one frame to hold the entire dish in focus, you take several frames at a comfortable, sharp aperture -- each one focused a little farther back -- and let software assemble the sharp parts of each into a single flawless image.
What "stacking" actually means
Think of the sharp zone as a thin sheet of glass floating in front of your lens. In frame one, that sheet sits on the front rim of the plate. In frame two, you nudge focus slightly and the sheet moves to the middle of the dish. In frame three, it lands on the back garnish. Each frame captures one sharp slice. Stacking software then looks across all the frames, keeps only the sharp pixels from each, and merges them so the finished photo is sharp everywhere the sheet ever landed. Nothing is faked -- every sharp pixel is real, just captured at a different moment.
When a Restaurant Actually Needs It (and When It Doesn't)
Here is the honest part most tutorials skip: you do not need to focus stack most of your menu. Stacking is a precision tool for specific situations, not a default setting. Reaching for it on every shot will slow you to a crawl and produce diminishing returns.
You genuinely benefit from focus stacking when:
- You are shooting close and low. A dramatic side-on burger, a stacked pancake tower, or a layered trifle where the entire height needs to be crisp.
- You are shooting a deep overhead scene. A full table flat-lay, a spread of shared plates, or a bowl deep enough that the near and far rims fall on different focal planes.
- The image will be displayed large. A full-width website banner or a printed menu blows up every soft edge. What survives a thumbnail can fall apart at poster size.
- Texture is the whole point. Flaky pastry, crusty bread, glistening caviar -- dishes that sell on surface detail deserve every bit of sharpness you can give them.
You can safely skip it when:
- You are shooting for small tiles. Delivery-app and online-ordering thumbnails render so small that a single well-focused frame at f/8 is indistinguishable from a stack. Save the effort.
- You want intentional blur. A soft, dreamy background is a deliberate creative choice. Stacking would erase exactly the mood you are building.
- Your subject moves. Melting, steaming, fizzing, or pouring shots cannot be stacked cleanly because the food changes between frames. For those, one fast frame wins.
In practice, a typical menu shoot might stack three or four hero images and shoot everything else conventionally. It is a scalpel, not a hammer. If you are still deciding which dishes deserve the full treatment, it helps to plan those hero frames in advance on a proper food photography shot list so you are not setting up a tripod rig for shots that will only ever live as thumbnails.
Let AI Handle the Cleanup After the Stack
Once your frames are merged, KwickPhoto's AI evens out color, lifts flat lighting, and cleans stray crumbs and background clutter -- so a technically sharp photo also looks polished and menu-ready.
Try KwickPhoto FreeHow to Focus Stack a Dish, Step by Step
The technique sounds intimidating and is genuinely not. If you can lock a camera on a tripod and press a button a few times, you can focus stack. Here is the workflow that keeps it fast.
1. Lock everything down
Stacking only works if the frames line up perfectly, which means the camera cannot move between shots. Put it on a sturdy tripod -- an overhead arm for flat-lays, a standard head for side angles. Turn off any image stabilization, because it can shift the frame slightly. Use a two-second timer or a remote so your finger never touches the camera during the sequence.
2. Set a sharp, sensible aperture
Do not shoot wide open, and do not crank to f/22. Pick the aperture where your lens is sharpest -- usually somewhere between f/5.6 and f/9 -- and let stacking cover the depth instead of a tiny aperture. This is the whole point: you keep the crisp, diffraction-free aperture and solve depth separately.
3. Switch to manual focus and work front to back
Set the lens to manual focus. Focus on the nearest important point -- the front rim, the closest crumb -- and take the first frame. Nudge the focus ring a hair farther back, shoot again. Repeat, walking the sharp zone through the dish in small, overlapping steps until the farthest point you care about is covered. Overlap matters more than frame count: it is better to take one extra frame than to leave a soft gap between two focus points.
4. Keep the light and the food identical
Because you are combining several exposures, the lighting must be dead consistent -- which is one more reason continuous lighting or a stable window beats a pop-up flash for stacking. And work quickly: a garnish that wilts or a sauce that skins over between frame one and frame six will show up as a ghost in the final blend. Style the plate, shoot the stack in under a minute, move on.
5. Blend in software
Load the frames into a stacking tool. Dedicated editors and even some phone apps have an automatic "align and blend" function that does the heavy lifting -- it aligns the frames, detects the sharpest pixels in each, and merges them. Review the result at full size for any halos or soft seams where the software guessed wrong, and touch those up by hand if needed. Then finish the image the way you finish any hero shot: color, contrast, and a final crop. Getting the color neutral first makes the sharpness read even cleaner, which is why nailing your white balance before you stack pays off in the final frame.
Example scenario: a 34-seat Vietnamese sandwich shop with a soft homepage hero
Illustrative scenario — a composite example built to show how the numbers work. It does not describe a real business or customer.
Consider a 34-seat Vietnamese sandwich shop in Katy, Texas whose banh mi is the signature -- a tall, crackly baguette packed with layers the owner is proud of. The problem is the website hero image, a big side-on shot displayed nearly full width on the homepage.
Up close, only the middle of the sandwich is sharp. The crusty end nearest the camera and the pickled carrots poking out the back are both soft. Blown up huge on the homepage, it looks like a phone snapshot, not a restaurant that cares.
Because the shot lives large and low, no single aperture can hold the whole baguette sharp without going so small the crust texture turns mushy. Suppose that in June 2026 a part-time photographer reshoots it as a five-frame stack: camera locked on a tripod at f/7.1, manual focus walked from the front crust to the back garnish, the whole sequence captured in about forty seconds, then blended and color-corrected.
The difference is almost silly. Every sesame seed, every edge of the crackle, the herbs at the back -- all of it sharp at once. It finally looks like the sandwich looks in real life when it is sitting in front of you.
Only the homepage and online-ordering hero are swapped, leaving price, copy, and layout untouched. Over the next six weeks in this example, the banh mi's share of online orders rises 22% against the prior six-week baseline.
Same sandwich, same $12. People can finally see the texture, and texture is the entire reason this thing is worth ordering.
The Mistakes That Ruin a Stack
Focus stacking fails in predictable ways. Avoid these five and your success rate climbs sharply.
- A wobbly setup. If the tripod shifts even slightly between frames, the blend produces double edges. Lock it down and use a timer or remote.
- Focus gaps. Jumping the focus ring too far between frames leaves a soft band in the middle of the dish that software cannot fix. Small, overlapping steps every time.
- Moving food. Melting, steaming, or settling between frames creates ghosting. Stack only stable subjects, and shoot the sequence fast.
- Changing light. A flickering bulb or a passing cloud shifts exposure across frames and shows up as banding. Keep the light constant.
- Stacking when you did not need to. Spending ten minutes rigging a stack for an image that will only ever appear as a 150-pixel thumbnail is wasted effort. Match the technique to where the photo will actually live.
Where the Sharp Frame Pays Off
A stacked hero image earns its extra effort precisely in the high-visibility slots where softness is most punishing -- the full-width homepage banner, the printed menu, the framed print by the entrance, the large format ad. These are the same placements where a strong hero image measurably lifts orders, and where the difference between "good" and "tack sharp" is most visible to a customer. That connection between image quality and conversion is exactly why sharp, appetizing menu photos increase sales rather than simply looking nice.
It is worth remembering that focus stacking is one tool inside a larger craft. Sharpness alone does not sell a dish -- composition, angle, and styling do the emotional work, and the technical layer just makes sure nothing undercuts it. If your framing still feels off even when the focus is perfect, the fix is usually in the composition rules rather than the depth of field. And if you are building a full set of images across your menu, treating sharpness, styling, and consistency as one system is the approach behind professional restaurant food photography that works across every customer touchpoint. For a sense of the bar to aim for on your hero frames, it is worth studying a current round-up of the strongest menu photos of 2026 before you set up the tripod.
The Bottom Line
Focus stacking is not an exotic trick -- it is a simple, physics-honest answer to a problem every food photographer eventually hits: up close, a single frame cannot hold the whole dish in focus. Shoot several frames at a sharp aperture, walk the focus from front to back, and let software merge the crisp slices into one flawless image.
Use it deliberately. Save it for the hero shots that appear large -- the tall, deep, texture-rich dishes where softness would be obvious -- and shoot everything else conventionally. Done that way, focus stacking adds maybe two minutes to a handful of shots per shoot and gives you the front-to-back sharpness that separates a menu that looks professionally made from one that merely looks fine.
Learn More About How KwickPhoto Handles Sharp, Menu-Ready Images
KwickPhoto is part of KwickOS, the all-in-one platform for restaurants. Batch-polish your stacked hero shots for consistent color and contrast, then push them straight to your menus, ordering pages, and delivery listings.
Explore KwickOS →Frequently Asked Questions
What is focus stacking in food photography?
Focus stacking is a technique where you shoot several photos of the same dish, each focused at a slightly different depth, then blend them into one image that is sharp from the front rim of the plate all the way to the back. It solves the problem that a single close-up frame can only keep one narrow slice of the food in focus.
When do restaurants actually need focus stacking?
Mainly for close, low-angle, or overhead detail shots where the whole dish must be sharp -- a tight burger cross-section, a layered parfait, an overhead flat-lay, or hero images shown large on a website. For most delivery-tile and menu thumbnails, a single well-focused frame at a moderate aperture is enough, so stacking is an occasional tool, not a daily habit.
Can you focus stack food photos on a phone?
Yes. Newer phones offer manual-focus camera apps that let you lock the phone on a small tripod and capture two or three frames at different focus points, which you then blend in a mobile editor. The results will not match a full-frame camera, but for overhead flat-lays a phone plus a steady mount and two focus points closes most of the gap.
How many frames do you need to focus stack a dish?
Most food shots need only three to seven frames. A shallow overhead plate may need just two or three focus points; a tall, deep subject shot at a low angle might need six or eight. Food rarely requires the twenty-plus frame stacks used in macro product work, because you can also close the aperture a stop or two to share the load.
Does focus stacking replace using a smaller aperture?
No -- they work together. Closing the aperture increases depth of field but eventually softens the whole image through diffraction, and very small apertures also force slower shutter speeds or more light. Focus stacking lets you keep a sharper mid-range aperture while still getting front-to-back sharpness, so you use each tool to cover what the other cannot.